Getting Started with Alarm Me
Download Alarm Me from the Google Play store (click here to download). Before starting it, check that your device is not in air-plane mode (there will normally be a plane icon on the bar at the top of the screen if you are). If you need to keep your device in air-plane mode and you are asked to turn on Wi-Fi, you should click "Not now". On starting the app the first thing it will do is check that your device has the right sensors enabled 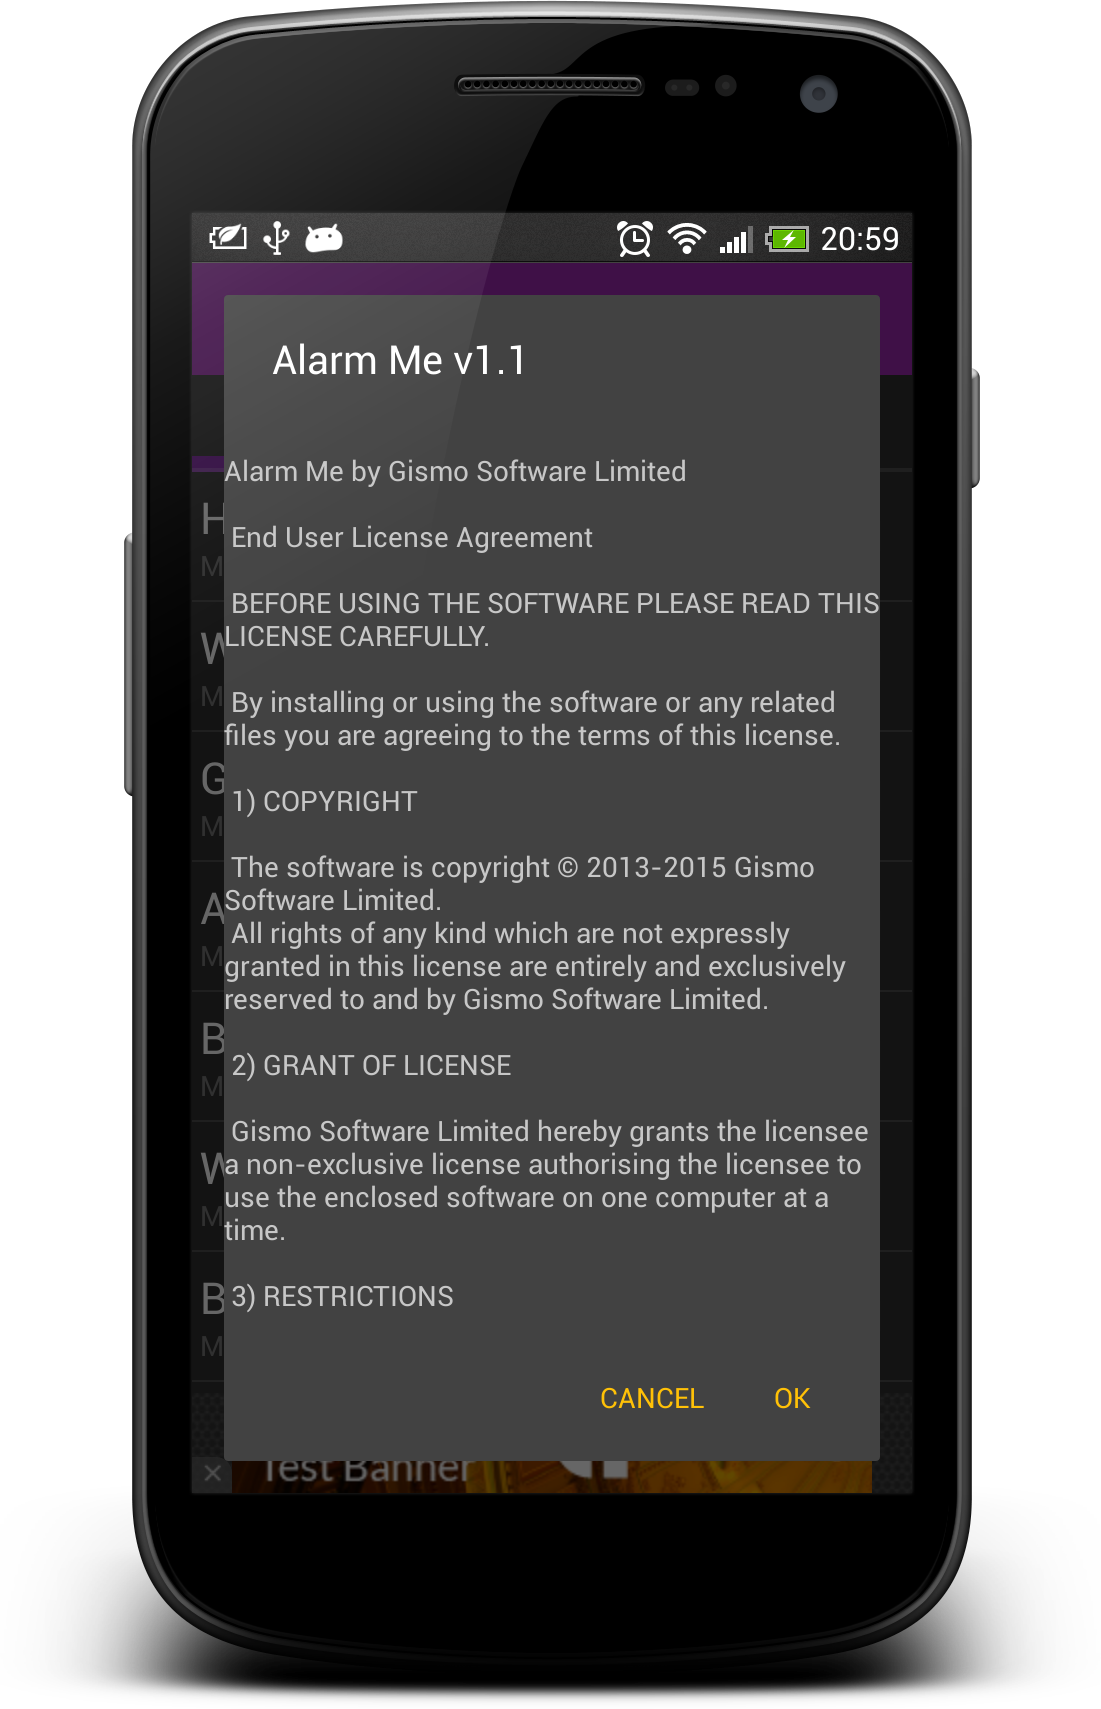 in order to get your location, when it needs to, as efficiently and accurately as possible. If it finds things that are not enabled it will ask if you want to enable them. With the exception described above, it is normally a good idea to click "Yes". Do not worry if you do not see this option, it just means that all the sensors required are ready for Alarm Me to use.
The first time you run Alarm Me or after an upgrade you will be presented with the End User License Agreement (EULA). An example of how this will look is shown to the left of this text. This must be accepted before we be can move onto setting up our alarms.
On accepting the End User License Agreement (EULA) you might be prompted to download the latest version of Google Play Services. Alarm Me uses this to display maps and do things like send Alarms to your friends. This can be quite a large download so you might want to make sure that you are using Wi-Fi before starting the update.
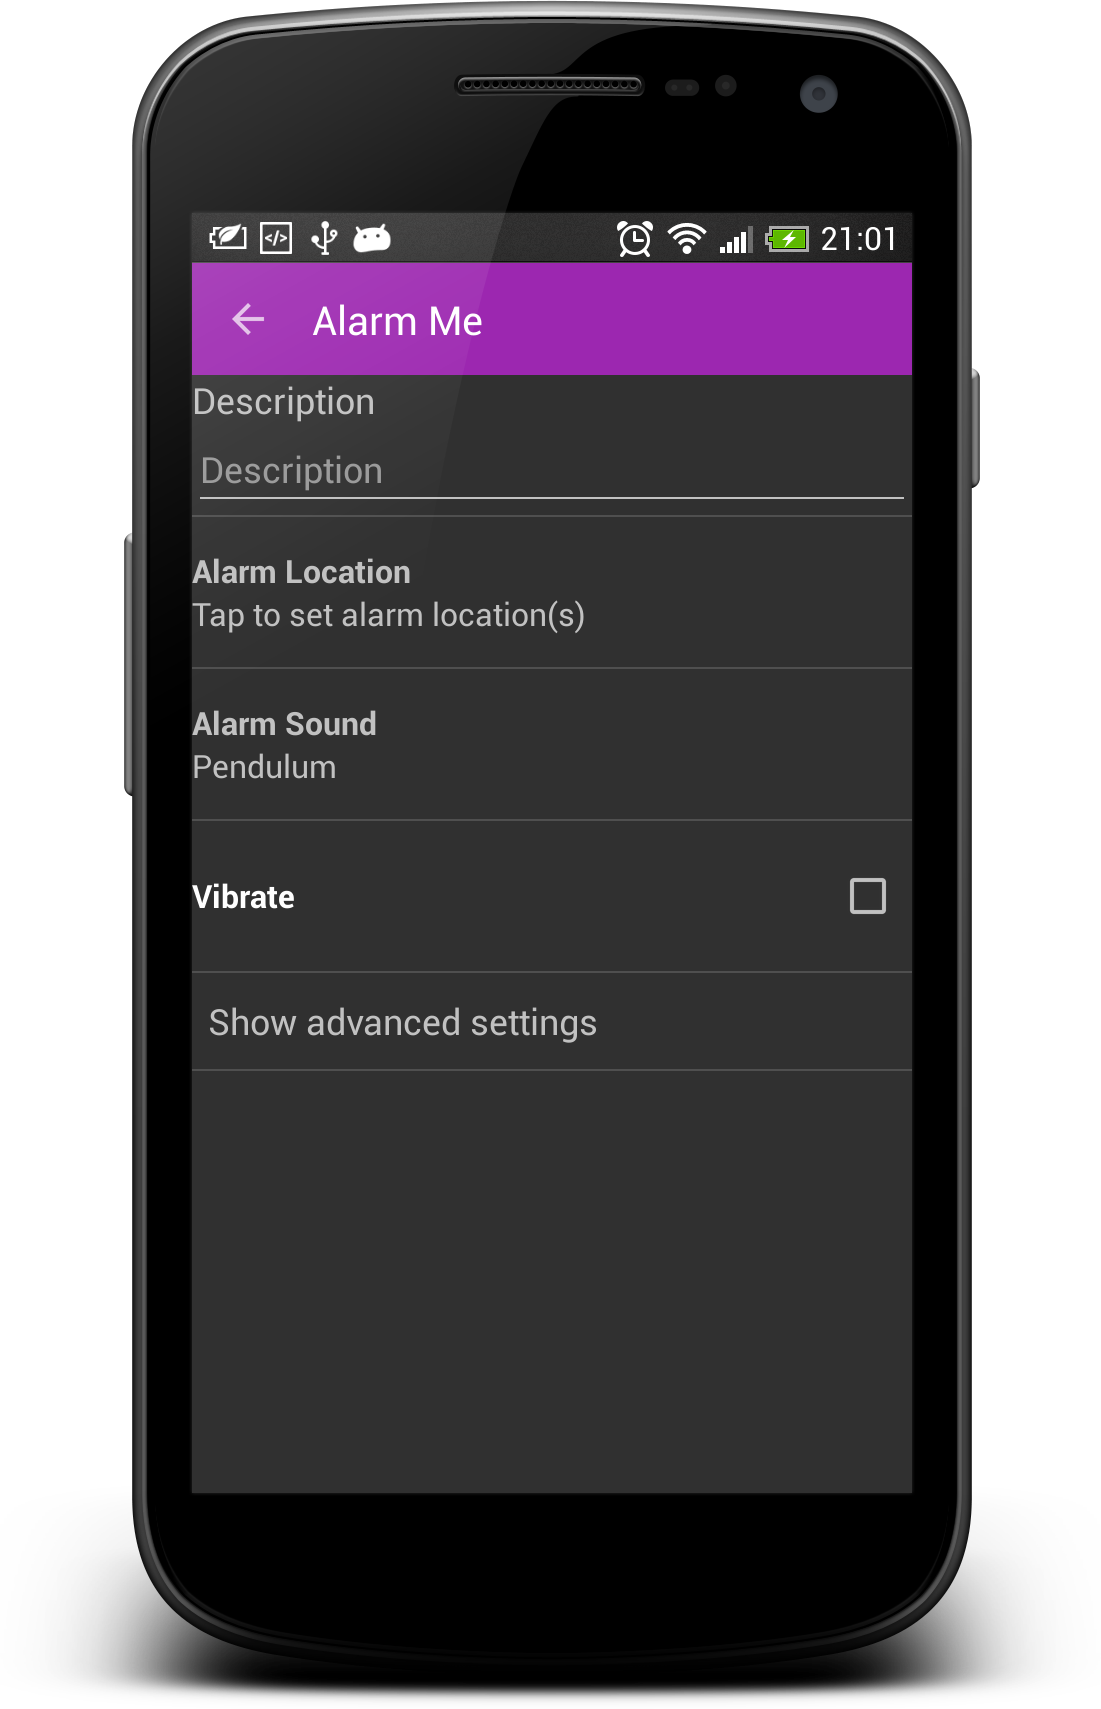 Once we have done this, the next step is to set up an alarm. If you are using a phone or something with a smaller screen you will see the screen on the left. If you are using a tablet with a larger screen you may a split screen with a list of the alarms to the left and this screen to the right.
The first step is to set a description. To do this simply tap on the 'Description' row and enter a description.
For an alarm to work it needs a location. To set the 'Alarm location' we can either use a map or type in a place name. To use a map, tap the "Alarm Location" row (this can be configured via the app settings so that a tap will start the type in a place name version instead). The screen will show a map centred on the phones location (or the last location the phone has). Pan and zoom in the normal way (basic details here). To add a location we touch and hold our finger on the required place. A red marker and a blue circle will appear showing the area the alarm will be active for. Tapping on the blue marker will show some information about it and tapping on the information that comes up will allow us to change the distance (radius of the circle), the description for this location or to delete this item. Multiple locations can be added for the same alarm, we just long press on the map in a different location (we could set an alarm location either side of a station or set alarm locations against several shops we pass on the way home to remind us to get some milk).
If we want to select our location using a place name we need to press and hold down on the "Alarm Location" row and then the top bar will change to read "Select Using" and give the choice of a map or a list of places. When you click "list of places" you will be prompted to enter a place name. After entering this click the search and you will be shown a list of matching place names. Click on the one that you require and that's it. If you want to change the distance, long press on the item and the top bar will show the options edit (a pencil icon), delete (a bin) and "Send to a friend" via the menu. Press the plus sign to add more locations to the list. Click back to return to the alarm editing screen.
If you want to change the 'Alarm Sound' from the default simply tap on the Alarm Sound row and you will be offered a list of different sound sources like Ringtones, Alarms and Music Tracks. Just tap the one that you want to use and you will be offered a list of items to choose from.
Finally there is the 'Vibrate' option, we can click this to toggle whether to vibrate as well as playing our selected sound/music when the alarm is triggered. (Note that there are options on the settings menu that govern what happens when the device is is in silent mode).
That is everything set up for a simple alarm. If you want to know about the advanced options carry on reading the next section, if not skip down to the last paragraph.
If you click on the "Advanced Setting" row the following rows will appear:-
'Days' allows days of the week to be selected so we could set an alarm that would only operate on certain weekdays but for now let's leave the alarm to operate all the time.
'Start Time' and 'End time' can be used to define times the alarm should operate. If no days of the week are set (i.e. 'Days' says 'Just Today') both times are assumed to be in the future when the alarm is turned on (so if the start time is set to 10:00 and it's turned on at 10:01 the alarm won't start until the following day). If days are set, the times are taken as being on the days in question or the following day if the 'End Time' is before the start time (e.g. 'Days' is set to Monday, 'Start Time' is set to 23:00 and 'End Time' to 02:00. The alarm will sound between 11pm on the Monday and 2am on the Tuesday when the given 'Alarm Locations' are entered). Again we can ignore these for now.
The 'Cancel Location' is set in exactly the same way as the 'Alarm Location'. This will cancel an alarm if we enter the location that's defined here. This is useful as, if there are no alarms in use, the app will shut down saving the battery of the device. We might set this location to be our home so our "Get some Milk" alarm or our "Get off the train/bus" alarm turns off if we get home before we activate it. For now we can ignore this option.
If any of the advanced settings are used then when the alarm is selected for editing all the advanced settings rows will be displayed rather than just the 'Show Advanced Settings' row.
Once we have everything in order we can click Back which will take us to the list of alarms we have available. We can tap it to go back and edit the information we have entered or to turn the alarm on we can click the check mark on the right hand side of the row. Now if we are already within the circle we defined for 'Alarm Location' (or any one of the circles if we did more than one) the alarm will trigger and play the sound/music we selected. If we are not within the circle the alarm will have 'On' next to it and will be triggered when we enter the circle (as long as the device can give us an accurate enough reading - it won't work as wellunderground, for instance).